Still worried about multiple accounts being blocked? Today I will teach you how to use Nestbrowser + Swiftproxy to completely solve this problem, so that each of your accounts can run as safely as an independent device!
Why choose Nestbrowser?
Choosing NestBrowser as a browser solution has the following advantages:
1. Privacy and security
Provides advanced IP hiding function to effectively prevent network tracking and personal information leakage.
Supports multiple proxy configuration methods and can easily integrate proxy tools such as SwiftProxy.
2. Enterprise-level development support
Adopts modular architecture design for easy expansion and maintenance.
Supports multiple communication protocols to meet different development needs.
3. Engineering advantages
Follows modern front-end engineering specifications and has clear code organization.
Provides a complete development tool chain suitable for building complex applications.
Configuring Nestbrowser with Swiftproxy
Step 1: Get proxy information
1.Register and log in to Swiftproxy and enter the dashboard
2.configure your proxies. We are using Random IPs from United States of America with IP rotation on each request using HTTP/HTTPS protocol in this case.

Step 2: Configure Swiftproxy in Nestbrowser
1. Download Nestbrowser
2. Register and log in
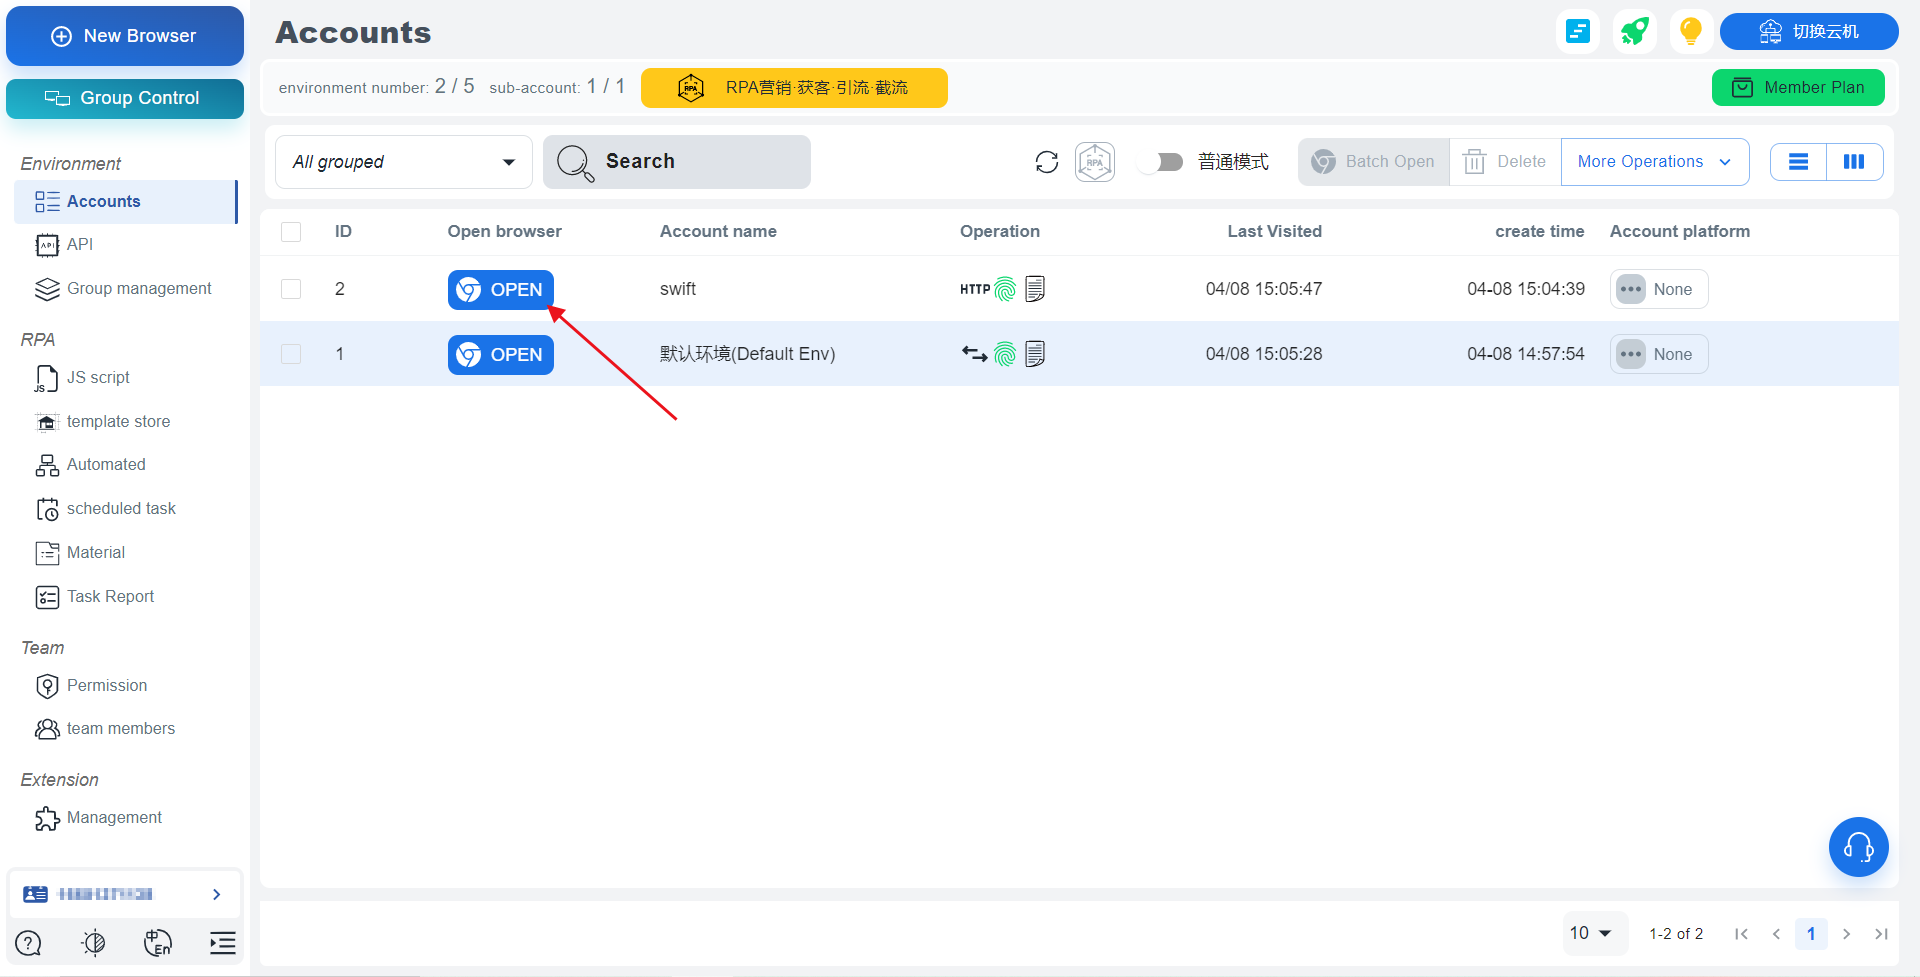
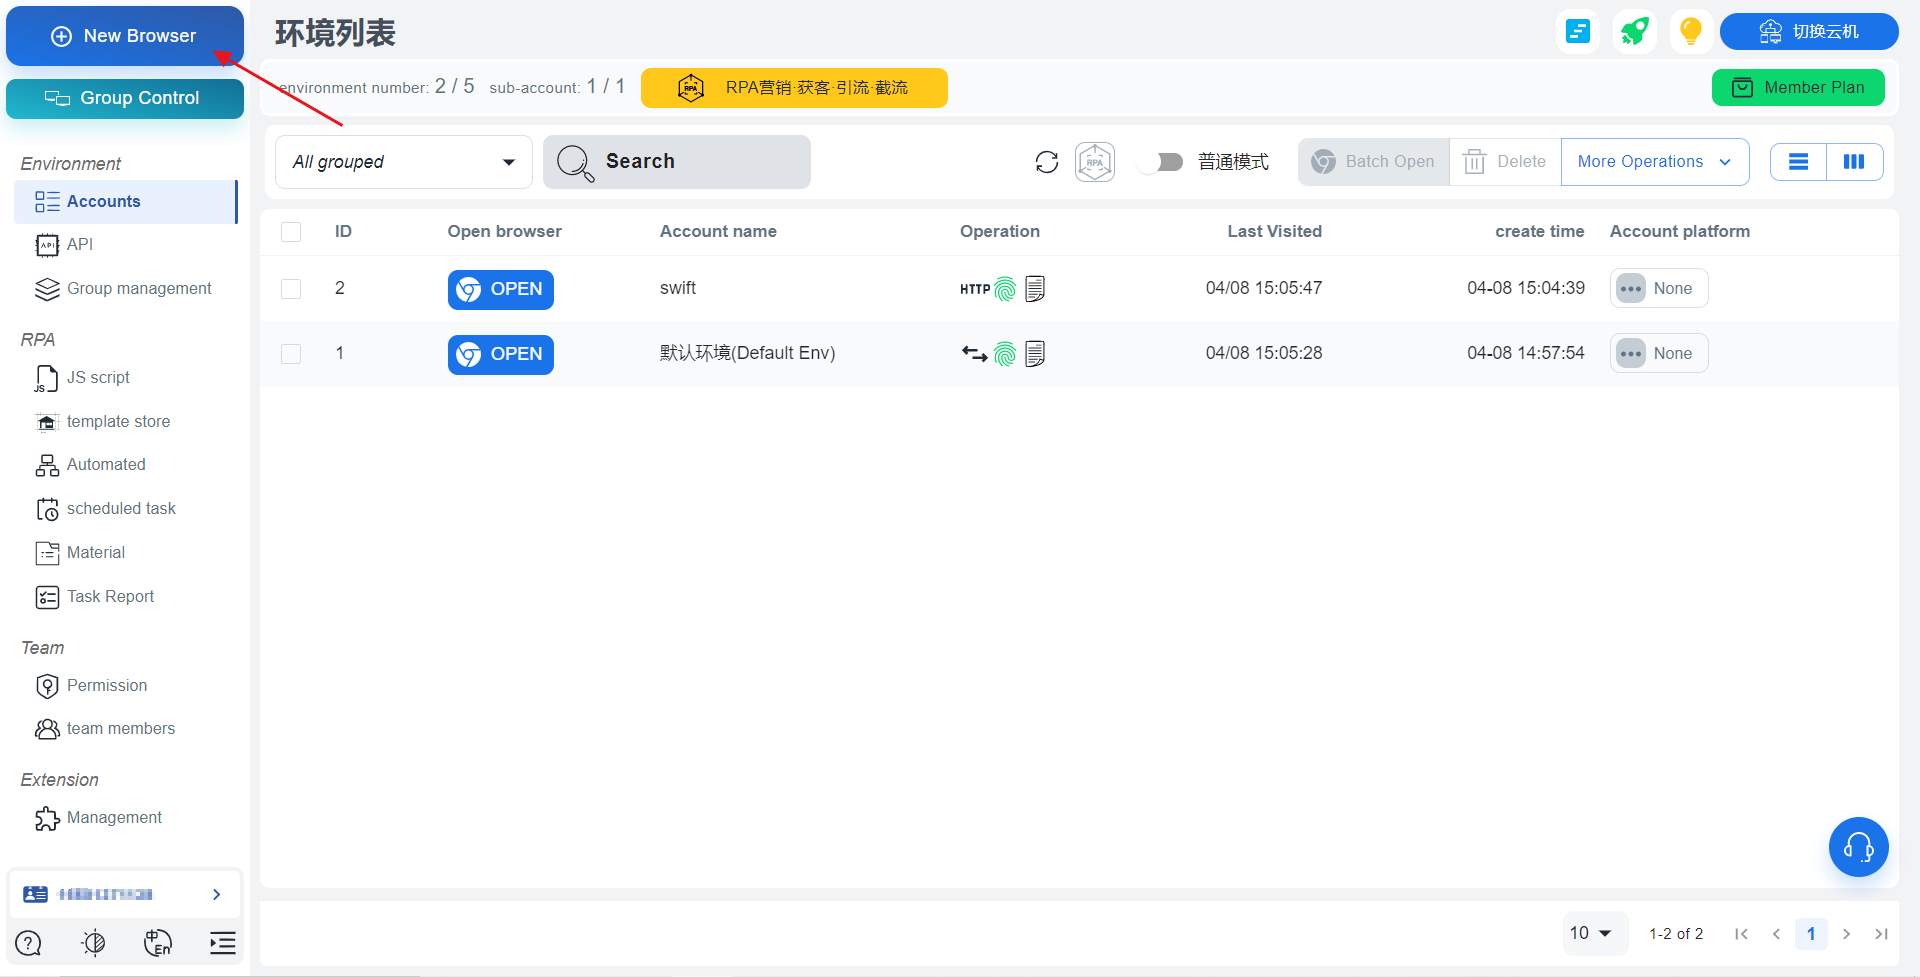
3. Click "New Profile" to create a new browser
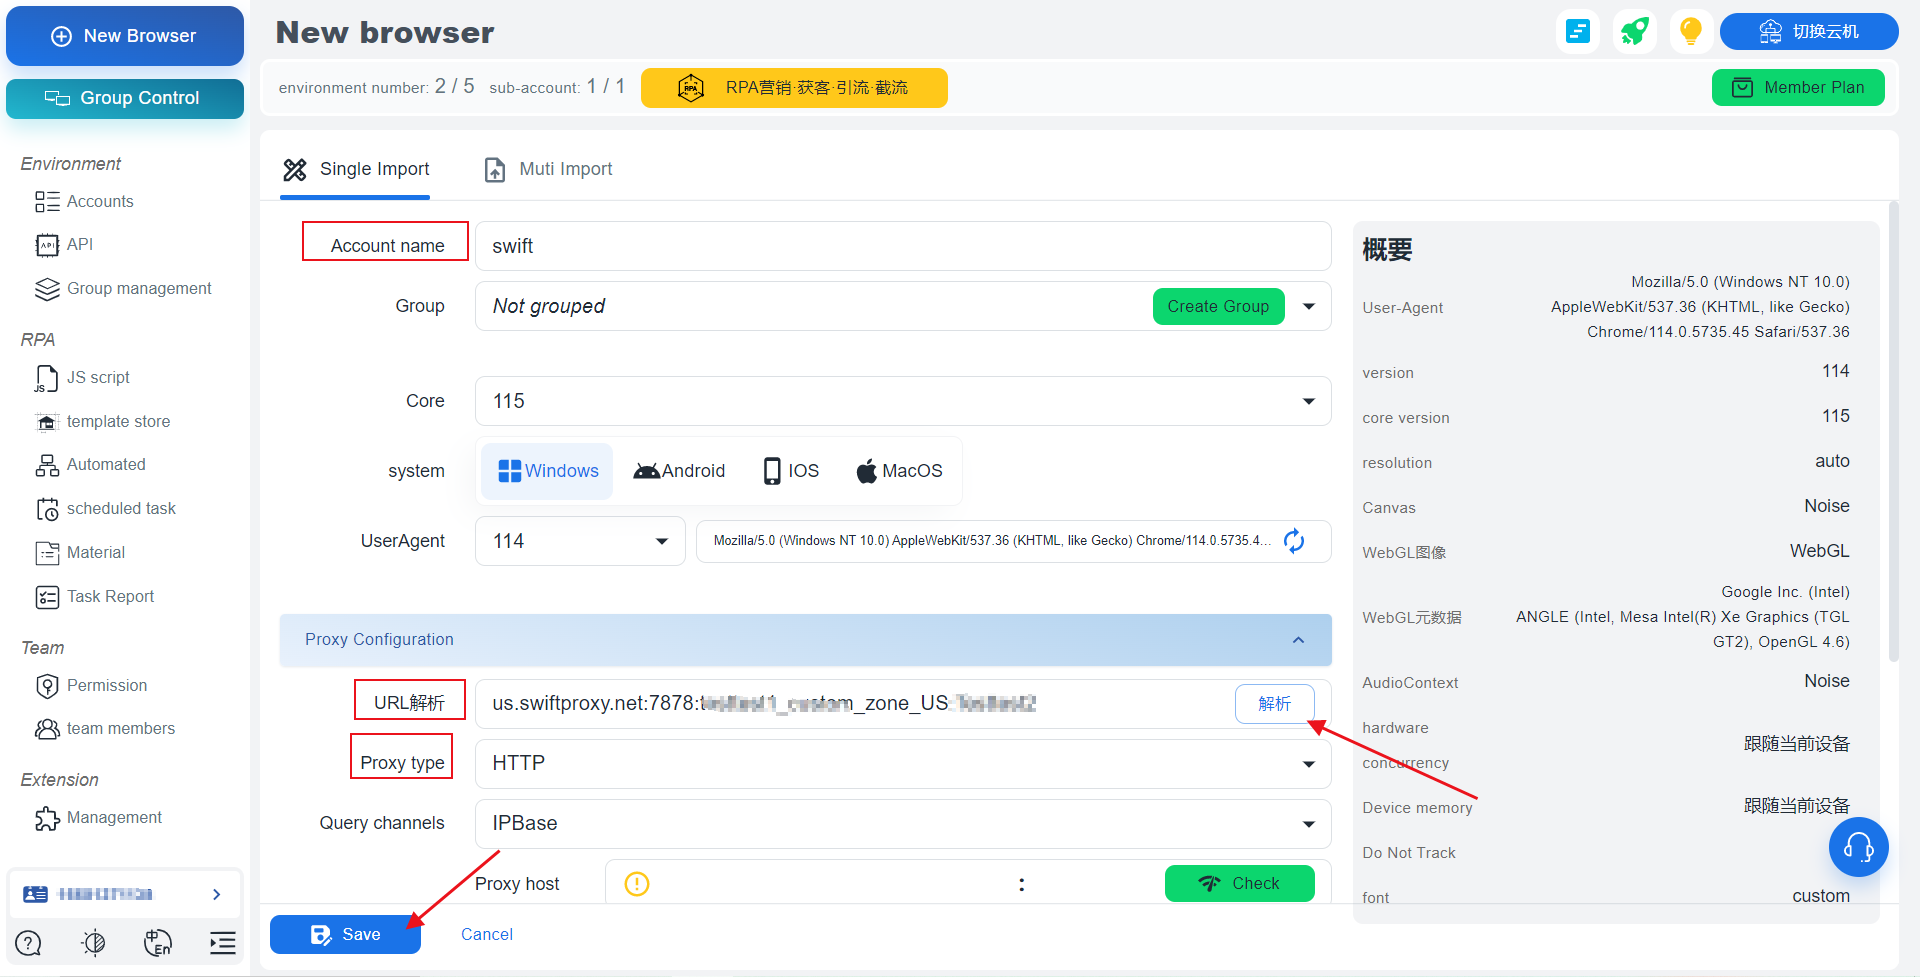
4. After entering the Account name, paste the proxy credentials you just obtained in the "Proxy Configuration" below.
After selecting the proxy protocol, parse the pasted proxy credentials.
5. Finally, click Save to successfully configure our browser.
6. Tap "OPEN" to open the browser window