Configuring ClonBrowser with Swiftproxy
Anti-detect browsers have become increasingly popular in recent years thanks to their ease of use and flexibility. They allow users to manage multiple accounts on different platforms from a single device. These browsers are particularly favored by professionals in e-commerce, advertising, and web testing industries.
This time, we will discuss ClonBrowser, its main features, and the steps to configure ClonBrowser using Swiftproxy.
What is ClonBrowser?
ClonBrowser anti-detection browser is the only full-featured free and allows users to edit and control the browser fingerprints and other information, support for multi-agent protocols, you can dock any platform for multi-account management.
Configuring ClonBrowser with Swiftproxy
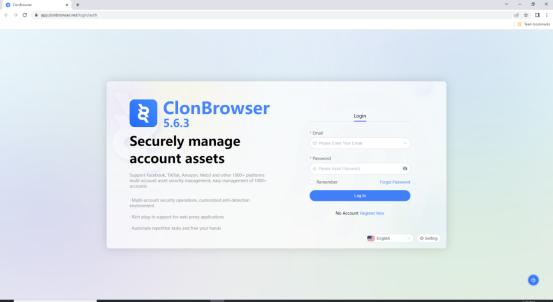
1. Download the appropriate version of ClonBrowser then create an account.
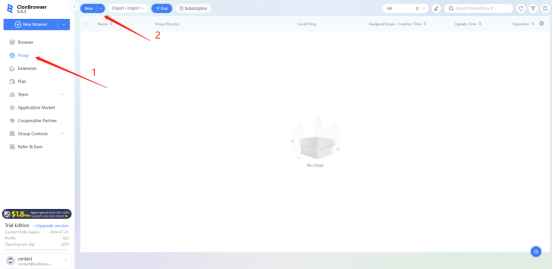
2. To configure your proxies, first select "Proxy", Then, click on "New" to add proxy.
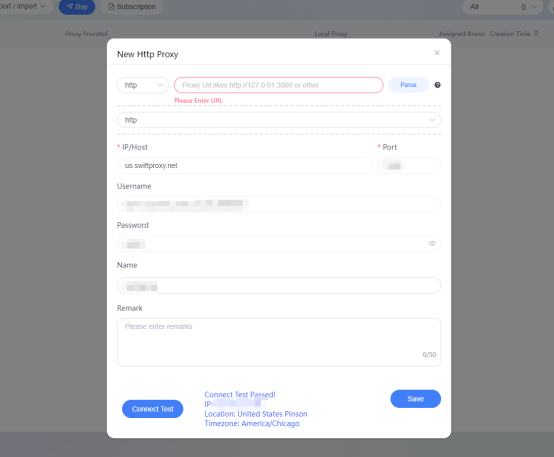
3. A new window will appear, allowing you to enter your proxy credentials.
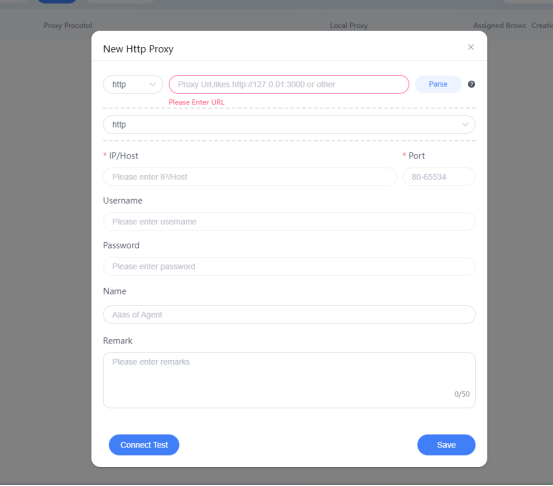
4. Now, visit the Swiftproxy dashboard and configure your proxies. We are using IPs from Alabama/The United States with IP rotation on each request using HTTP/HTTPS protocol in this case.
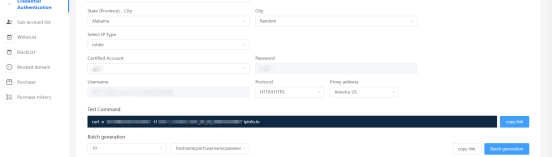
5. Copy your credentials from the Swiftproxy dashboard to ClonBrowser as shown below then hit “Save” at the bottom right corner. You may tap the “Connect Test” to check if the proxy is set up successfully.
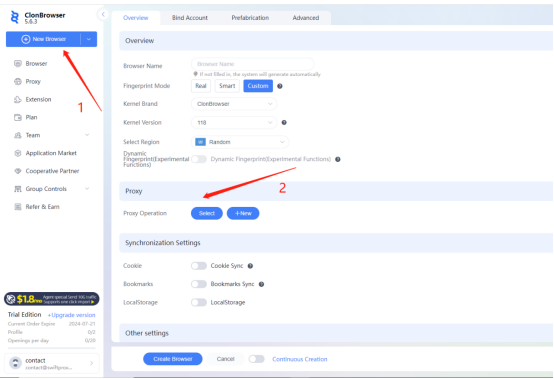
6. Click "New Browser", scroll down a bit then select the Proxy.
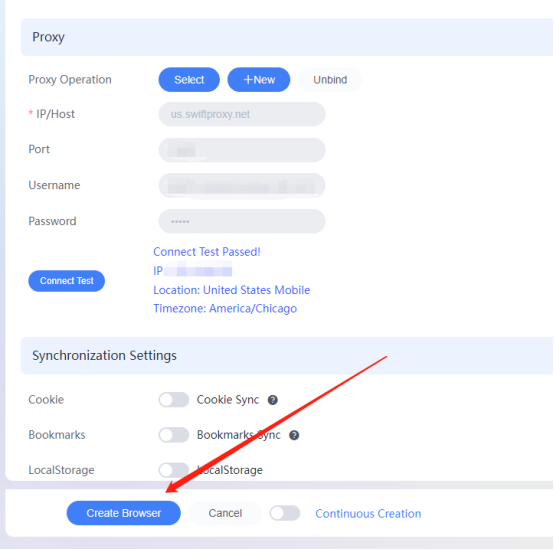
7. Select the Proxy settings we configured previously then hit “Create Browser".
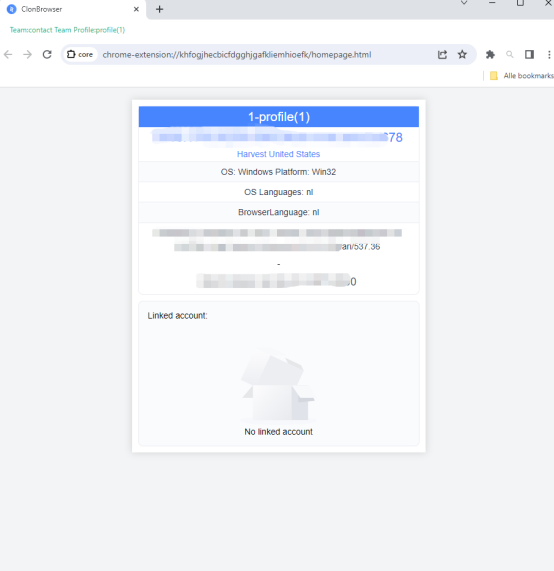
8. Tap "Launch" to start browsing using Swiftproxy’s residential proxy service via ClonBrowser.
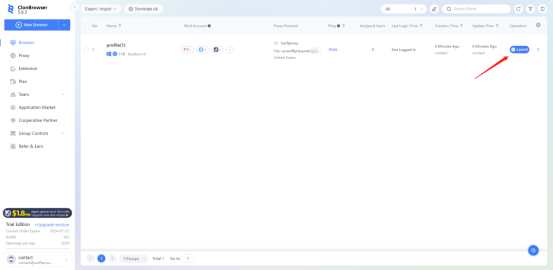
9. After launching, the page window would pop up, the first page you see will be the IP checker provided by ClonBrowser.