Configuring BitBrowser with Swiftproxy
Anti-detect browser have gained significant popularity in recent years due to their user-friendly nature and versatility. They make it possible to manage multiple accounts across various platforms from a single device. Nowadays, they are mostly used by people in the E-commerce, advertising, and web testing industries.
This time, we will discuss BitBrowser, its main features, and the steps to configure BitBrowser using Swiftproxy.
What is BitBrowser?
Like other anti-detect browser, prioritizes privacy and security. What makes it unique are its advanced anti-detection and anti-fingerprinting capabilities. These features ensure that each browser profile operates independently, providing a higher level of security and anonymity:
- Proxy Setup
- Intuitive Dashboard
- Profile Management
Configuring BitBrowser with Swiftproxy.
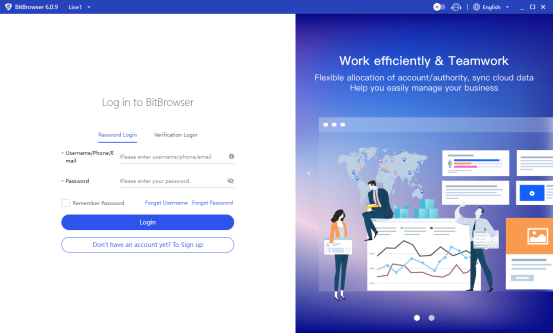
1. Download the appropriate version of BitBrowser then create an account.
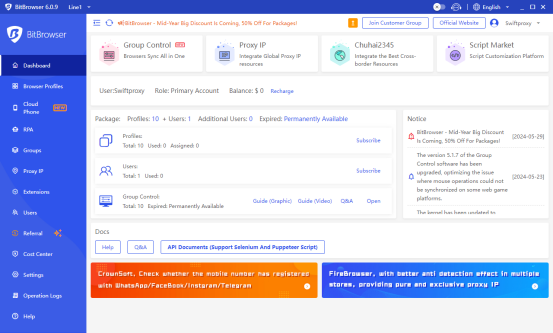
2. Once you log in, you can start using BitBrowser's free plan, which is limited to one user and ten browser profiles.
3. To configure your proxies, first select "Proxy IP", Then, click on "Proxy Management" and finally, click the "Add Proxy" button.

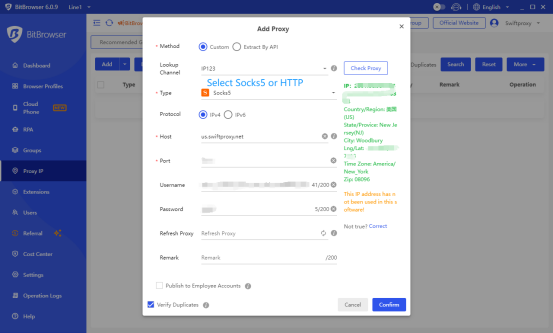
4. A new window will appear, allowing you to enter your proxy credentials.
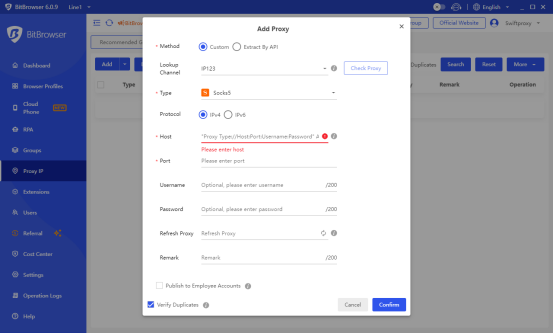
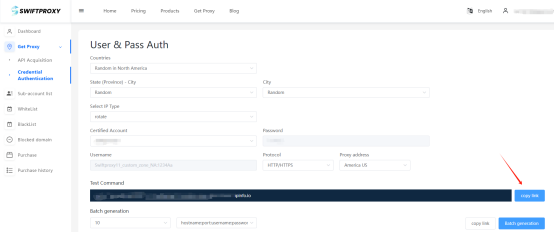
5. Now, visit the Swiftproxy dashboard and configure your proxies. We are using Random IPs from North America with IP rotation on each request using HTTP/HTTPS protocol in this case.
6. Copy your credentials from the Swiftproxy dashboard to BitBrowser as shown below then hit Confirm at the bottom right corner. Make sure to select either Socks5 or HTTP.
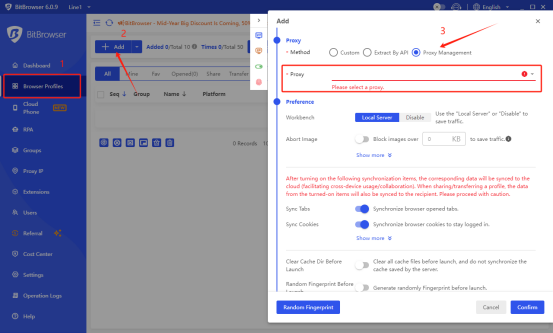
7. Head to Browser Profiles, click “ADD” then select “Proxy Management” then pick the proxy you set up previously.
8. Tap the Confirm bottom then open a web page via BitBrowser.
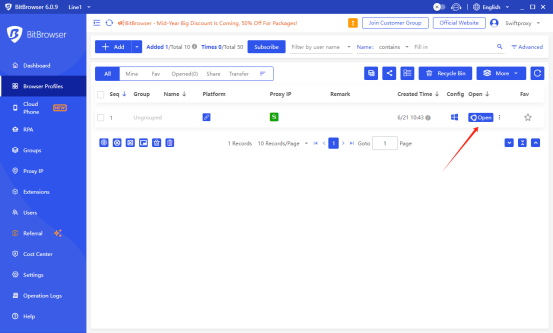
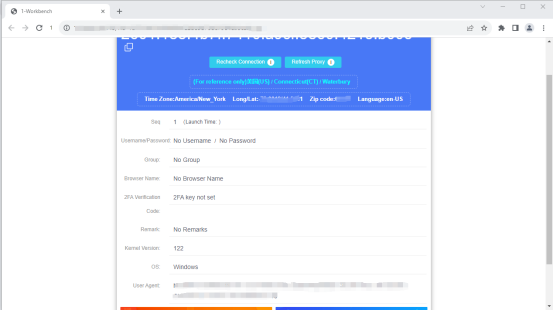
9. After web page opening, the first info it pops up would be a IP checker provided by BitBrowser, check the IP then you are good to go!