







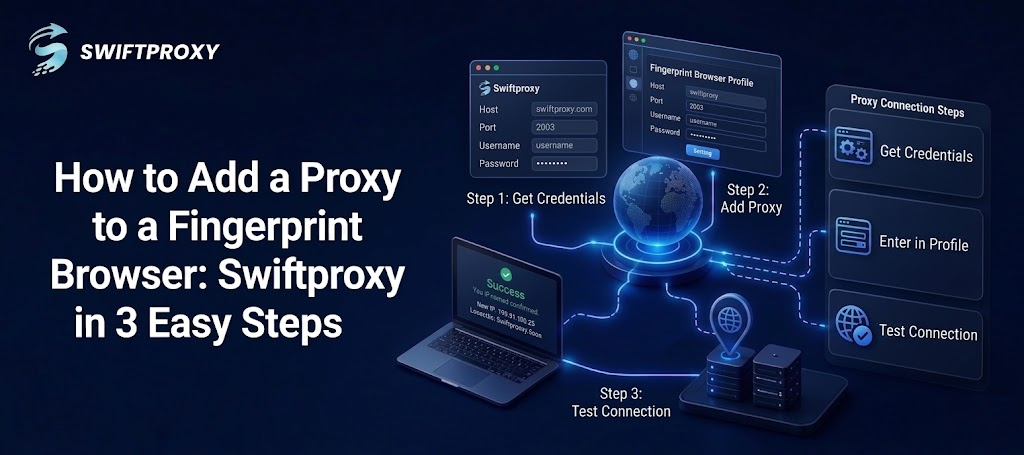
How to Add a Proxy to a Fingerprint Browser: Swiftproxy in 3 Easy Steps
Learn how to add Swiftproxy to a fingerprint browser in 3 easy steps to manage isolated profiles, IP locations, and stable sessions effectively.

Fingerprint browsers allow users to manage separate browser profiles, cookies, sessions, and network environments. Adding a proxy to each profile can make authorized market research, regional testing, public web data collection, and ad verification easier to manage.
With Swiftproxy, configuring a proxy is simple: get your proxy credentials, add them to the browser profile, and test the connection.
Why Use a Proxy With a Fingerprint Browser
A fingerprint browser keeps different browser environments separate, while a proxy routes the profile's traffic through a selected IP address and location.
For example, a residential proxy can help businesses conduct regional market research or verify how websites, search results, prices, and advertisements appear from different locations. When a profile needs to maintain the same IP, a static residential proxy can provide a more consistent connection.
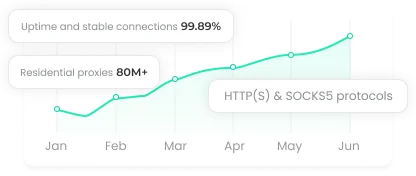
Swiftproxy supports residential proxies with HTTP(S), SOCKS5, User & Pass authentication, and flexible IP rotation options. You can explore Swiftproxy Residential Proxies before setting up your browser profile.
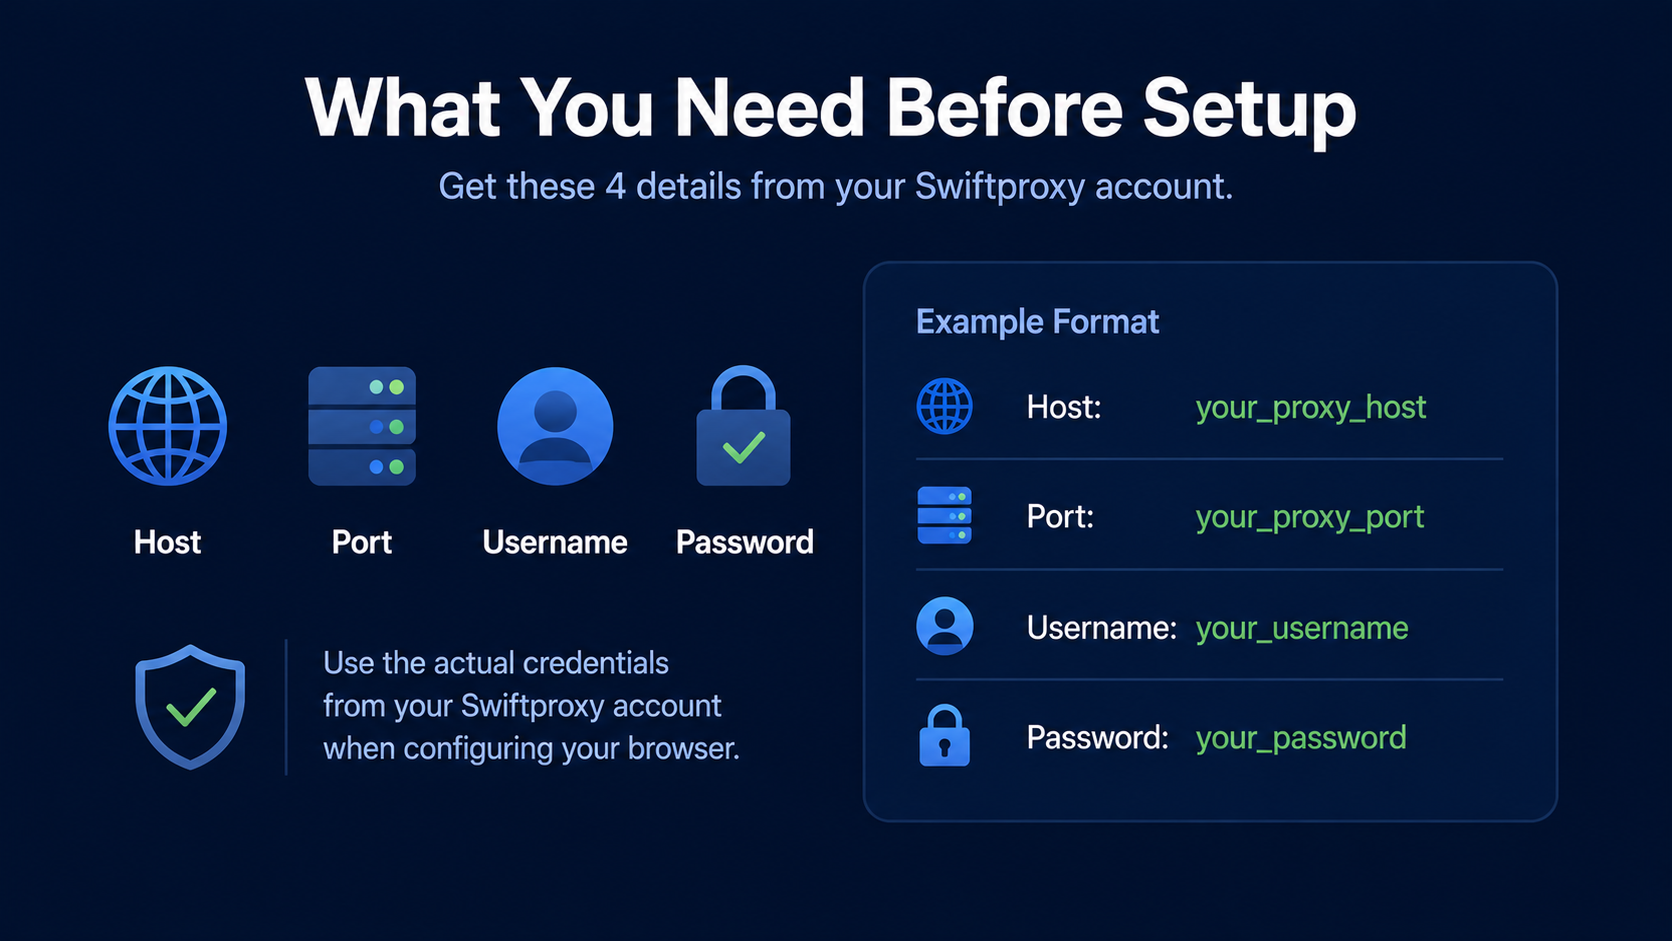
What You Need Before Setup
Prepare these four details from your Swiftproxy account:
- Host
- Port
- Username
- Password
Your proxy details may look like this:
Host: your_proxy_host
Port: your_proxy_port
Username: your_username
Password: your_password
Use the actual credentials generated in your Swiftproxy account when configuring the browser.
Step 1: Get Your Swiftproxy Proxy
Log in to Swiftproxy and generate a proxy based on your required location and session type.
Choose a rotating residential proxy if your workflow requires IP rotation. If the browser profile needs a stable IP for longer sessions, consider Swiftproxy Static Residential Proxies.
For some workflows, a sticky session can also maintain the same IP for a defined period while using a rotating residential proxy.
Step 2: Add the Proxy to Your Browser Profile
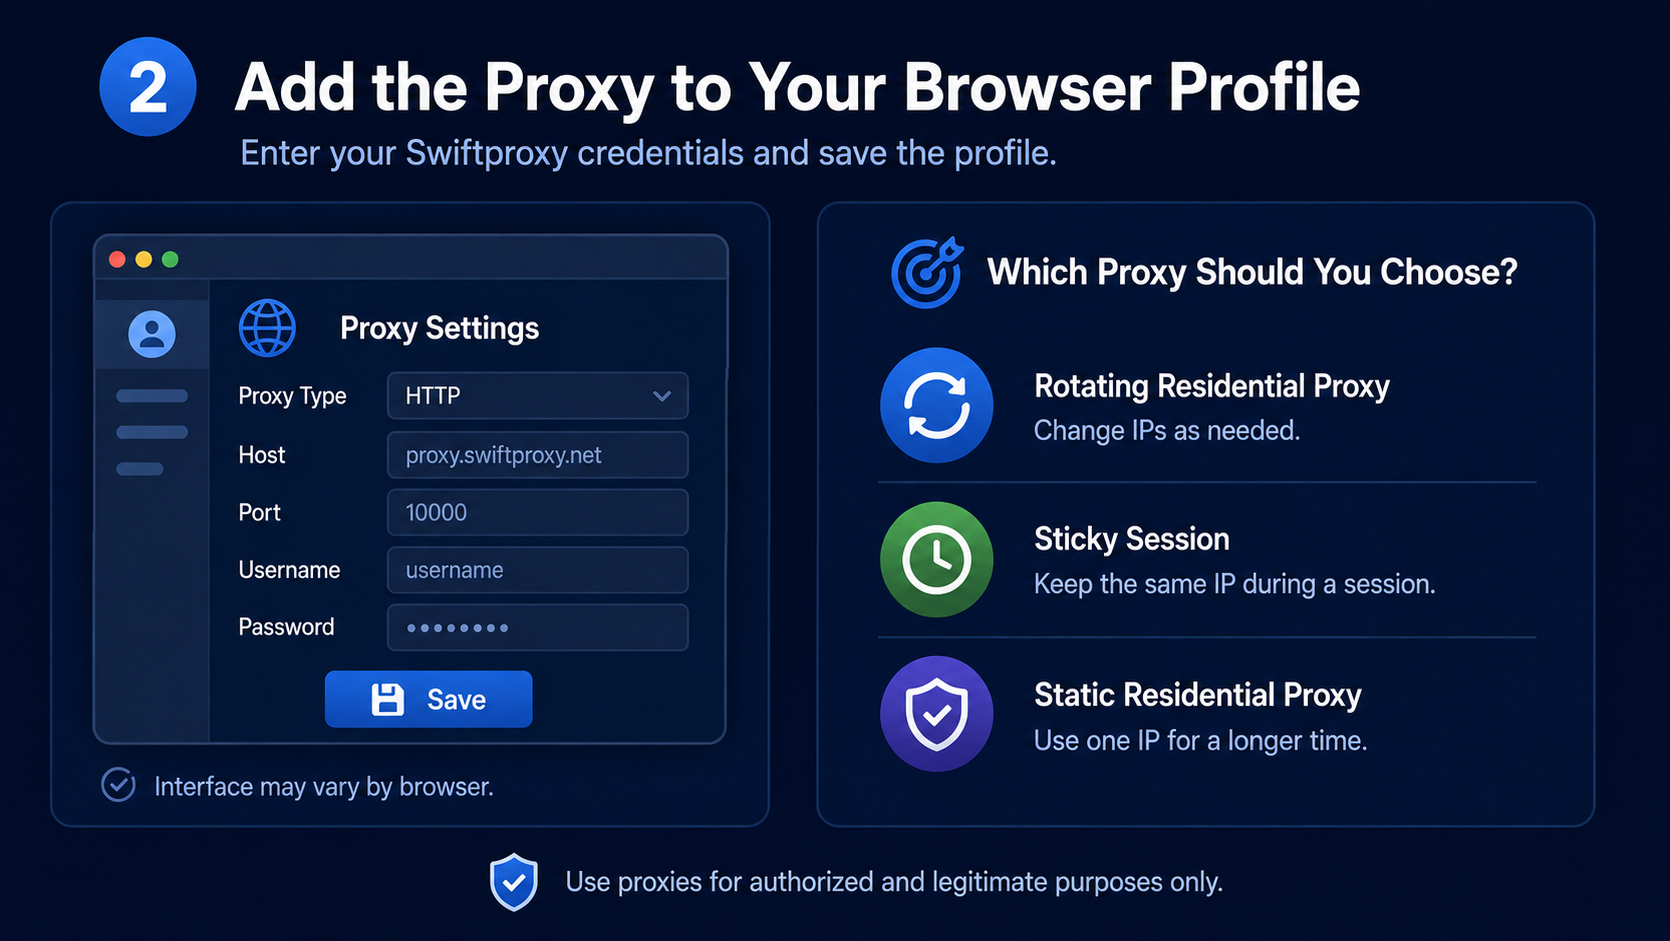
Open AdsPower, BitBrowser, or another fingerprint browser and create or edit a profile.
The proxy settings usually include:
Proxy Type → Host → Port → Username → Password
Enter your Swiftproxy credentials in the corresponding fields, select the matching protocol, and save the profile.
The exact interface differs between fingerprint browsers, but the basic fingerprint browser proxy configuration process is similar.
Which Proxy Should You Choose?
The right proxy depends on your session requirements:
- Rotating residential proxy: Useful when your workflow requires changing IPs.
- Sticky session: Suitable when the same IP should remain active during a specific session.
- Static residential proxy: Better for profiles that need a consistent IP over a longer period.
Step 3: Test the Proxy Connection
After saving the profile, click Test Proxy or the equivalent option provided by your browser.
Check that the proxy can connect successfully and that the displayed IP and location match your selected configuration. If the connection fails, verify:
- Username and password
- Proxy host and port
- HTTP(S) or SOCKS5 protocol
- Proxy assignment for the correct browser profile
Once the connection works, you can open the browser profile and begin your authorized workflow.
Residential or Static Residential Proxy
The choice mainly depends on whether you need IP rotation or IP stability.
|
Requirement |
Recommended Proxy |
|
Frequent IP changes |
Rotating residential proxy |
|
Public web data collection |
Rotating residential proxy |
|
Regional market research |
Residential proxy |
|
Stable browser sessions |
Static residential proxy |
|
Consistent IP over time |
Static residential proxy |
Rotating residential proxies offer greater IP flexibility, while static residential proxies are better suited to workflows where maintaining a consistent IP is important.
Final Takeaway
Adding a Swiftproxy proxy to a fingerprint browser only takes three basic steps:
Get credentials → Add the proxy → Test the connection.
Whether you use AdsPower, BitBrowser, or another fingerprint browser, the configuration process is largely the same. Choose a residential proxy when IP rotation and regional flexibility matter, or a static residential proxy when your browser profile requires a consistent IP.
For more options, visit Swiftproxy Residential Proxies or Static Residential Proxies.
關於作者
 頂級住宅代理解決方案
 {{item.title}}

 24
24