


Configuring MuLogin with Swiftproxy

Configuring MuLogin with Swiftproxy
Anti-detect browsers have seen a surge in popularity in recent years due to their user-friendliness and versatility. They enable users to handle multiple accounts across various platforms on a single device. These browsers are especially valued by professionals in e-commerce, advertising, and web testing sectors. In this discussion, we will explore MuLogin, its key features, and the steps to configure MuLogin using Swiftproxy.
What is MuLogin?
The MuLogin anti-detect fingerprint browser primarily offers unique fingerprints and environmental isolation for each account, facilitating users in logging into and managing multiple cross-border e-commerce, social media, and advertising marketing accounts on the same computer simultaneously. This tool saves time, reduces labor costs, and minimizes account environment expenses, thereby enhancing team efficiency. Key features include:
- Multi-platform and multi-account management;
- Unique and independent browser fingerprint environment for each instance;
- Multiple fingerprint protection, allowing simultaneous operation of multiple browsers to prevent detection;
- Simple browser automation;
- Multi-user collaborative support for efficient teamwork;
- Integration support with popular proxy providers.
Configuring MuLogin with Swiftproxy
1. Download the appropriate version of MuLogin then create an account (Support FREE Trial).
1. Download the appropriate version of MuLogin then create an account (Support FREE Trial).
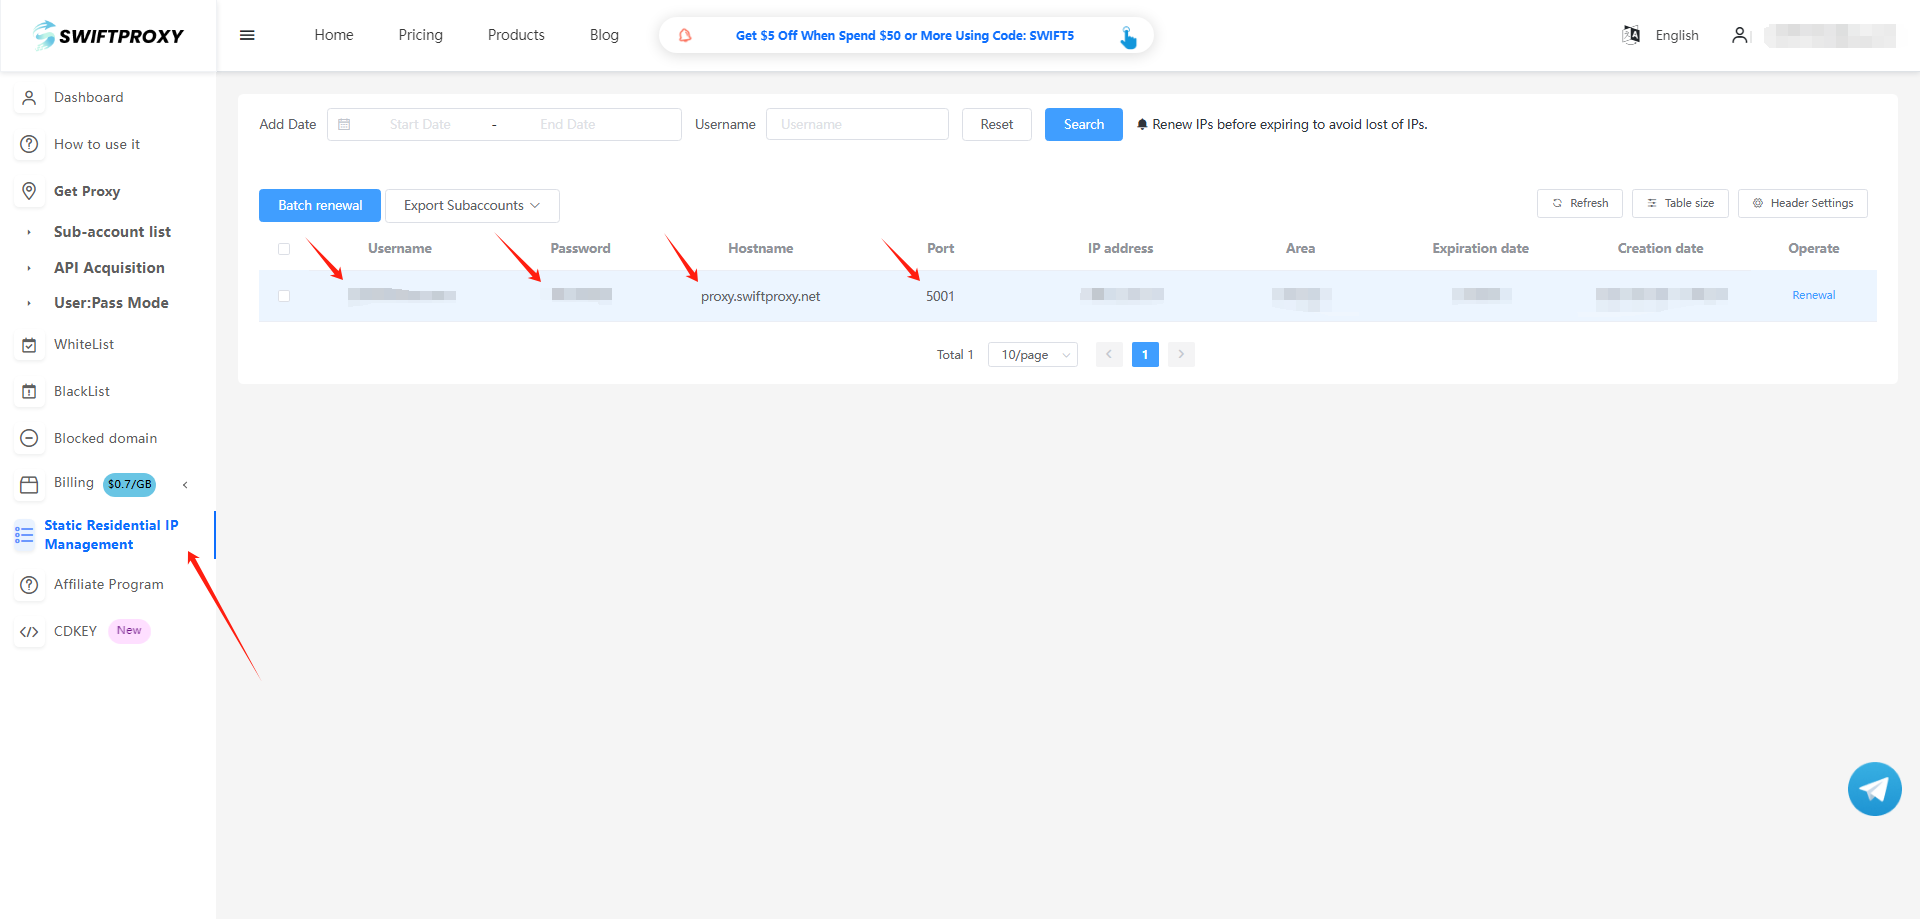
2. Visit the Swiftproxy dashboard and configure your proxies.
① For residential proxy: We are using IPs from Ohio/The United States with IP rotation on each request using SOCKS5 protocol in this case.
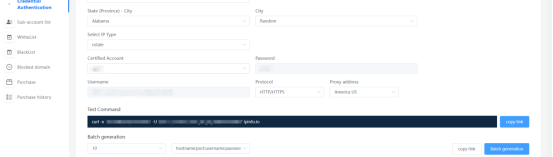
② For static proxy, copy Username, Password, Hostname and Port.
3. Log in to the Mulogin interface, click "Add Browser" --> find "Basic Settings" --> select "socks5" and enter the User & Password accordingly based on the information provided through Swiftproxy's account dashboard.
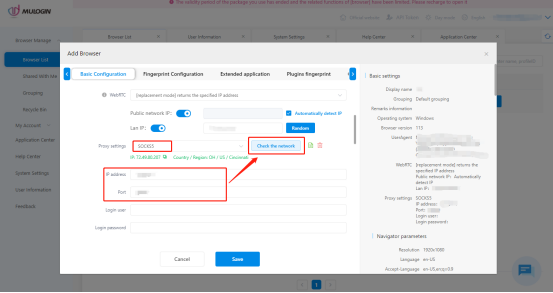
4. Finally, click "Save" to complete the configuration.
To contact MuLogin support via Telegram: @Mulogin
To contact Swiftproxy support via Telegram: @swiftproxy_official
關於作者


